Chips away!
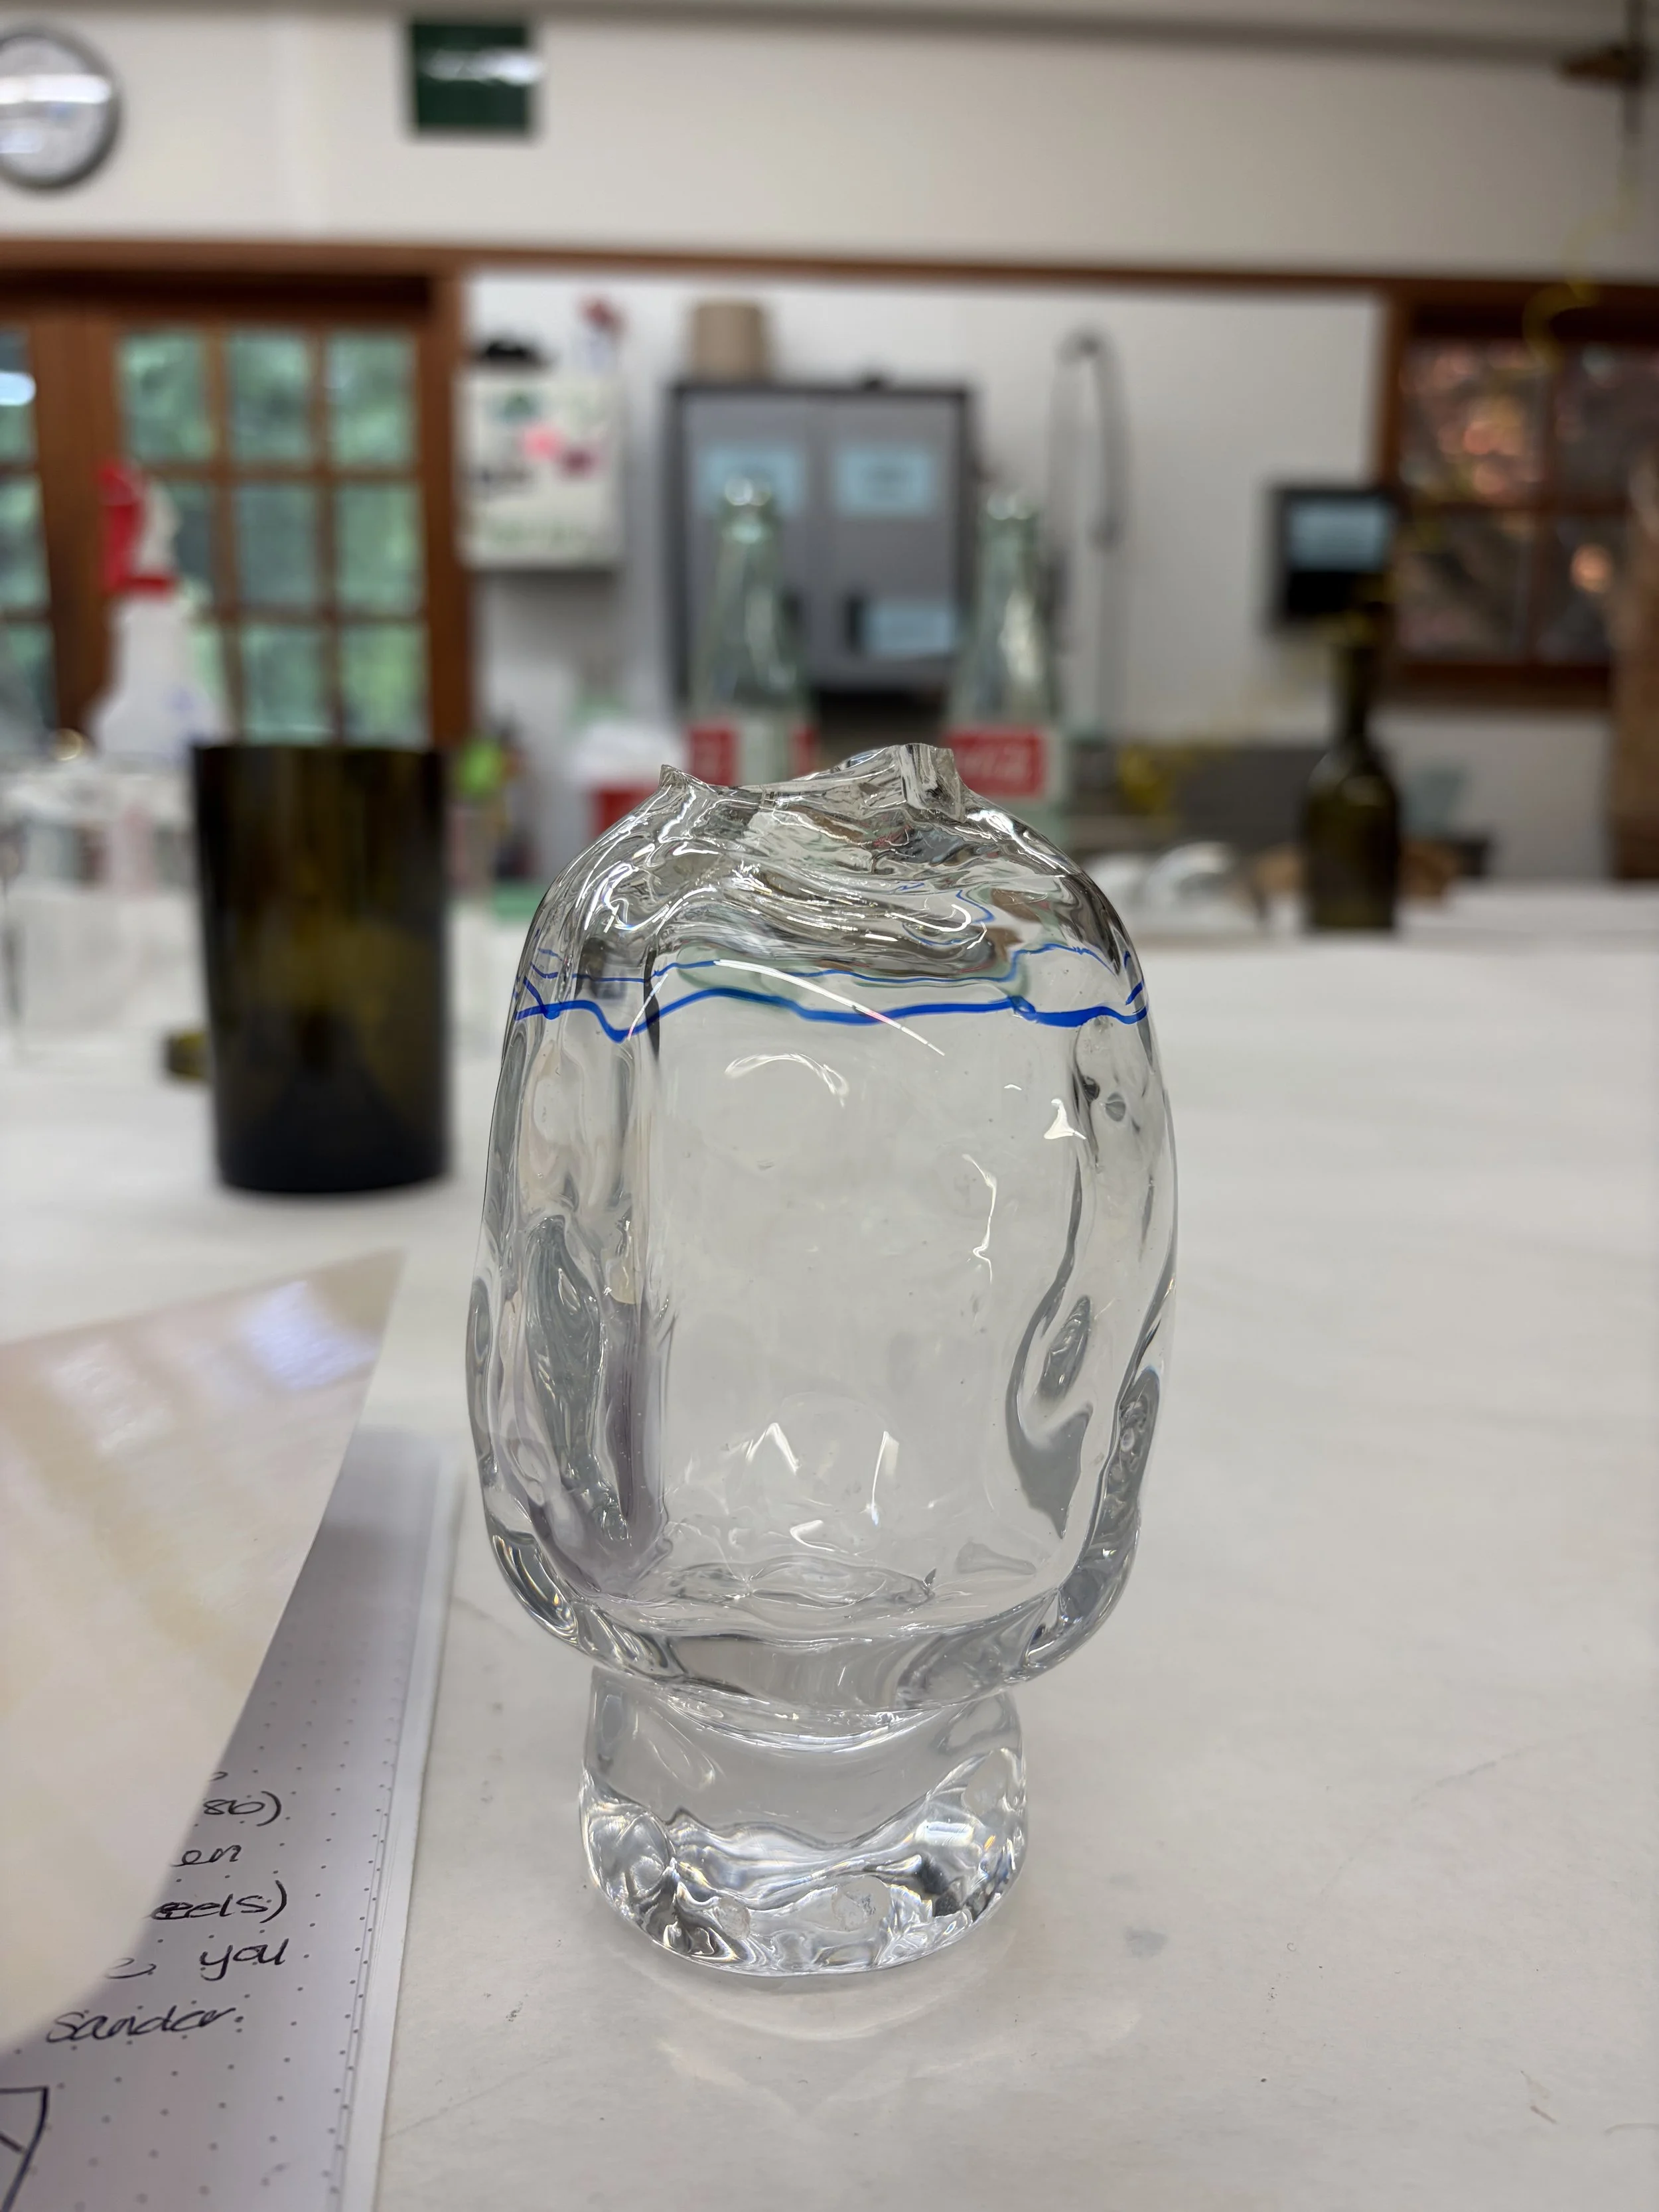
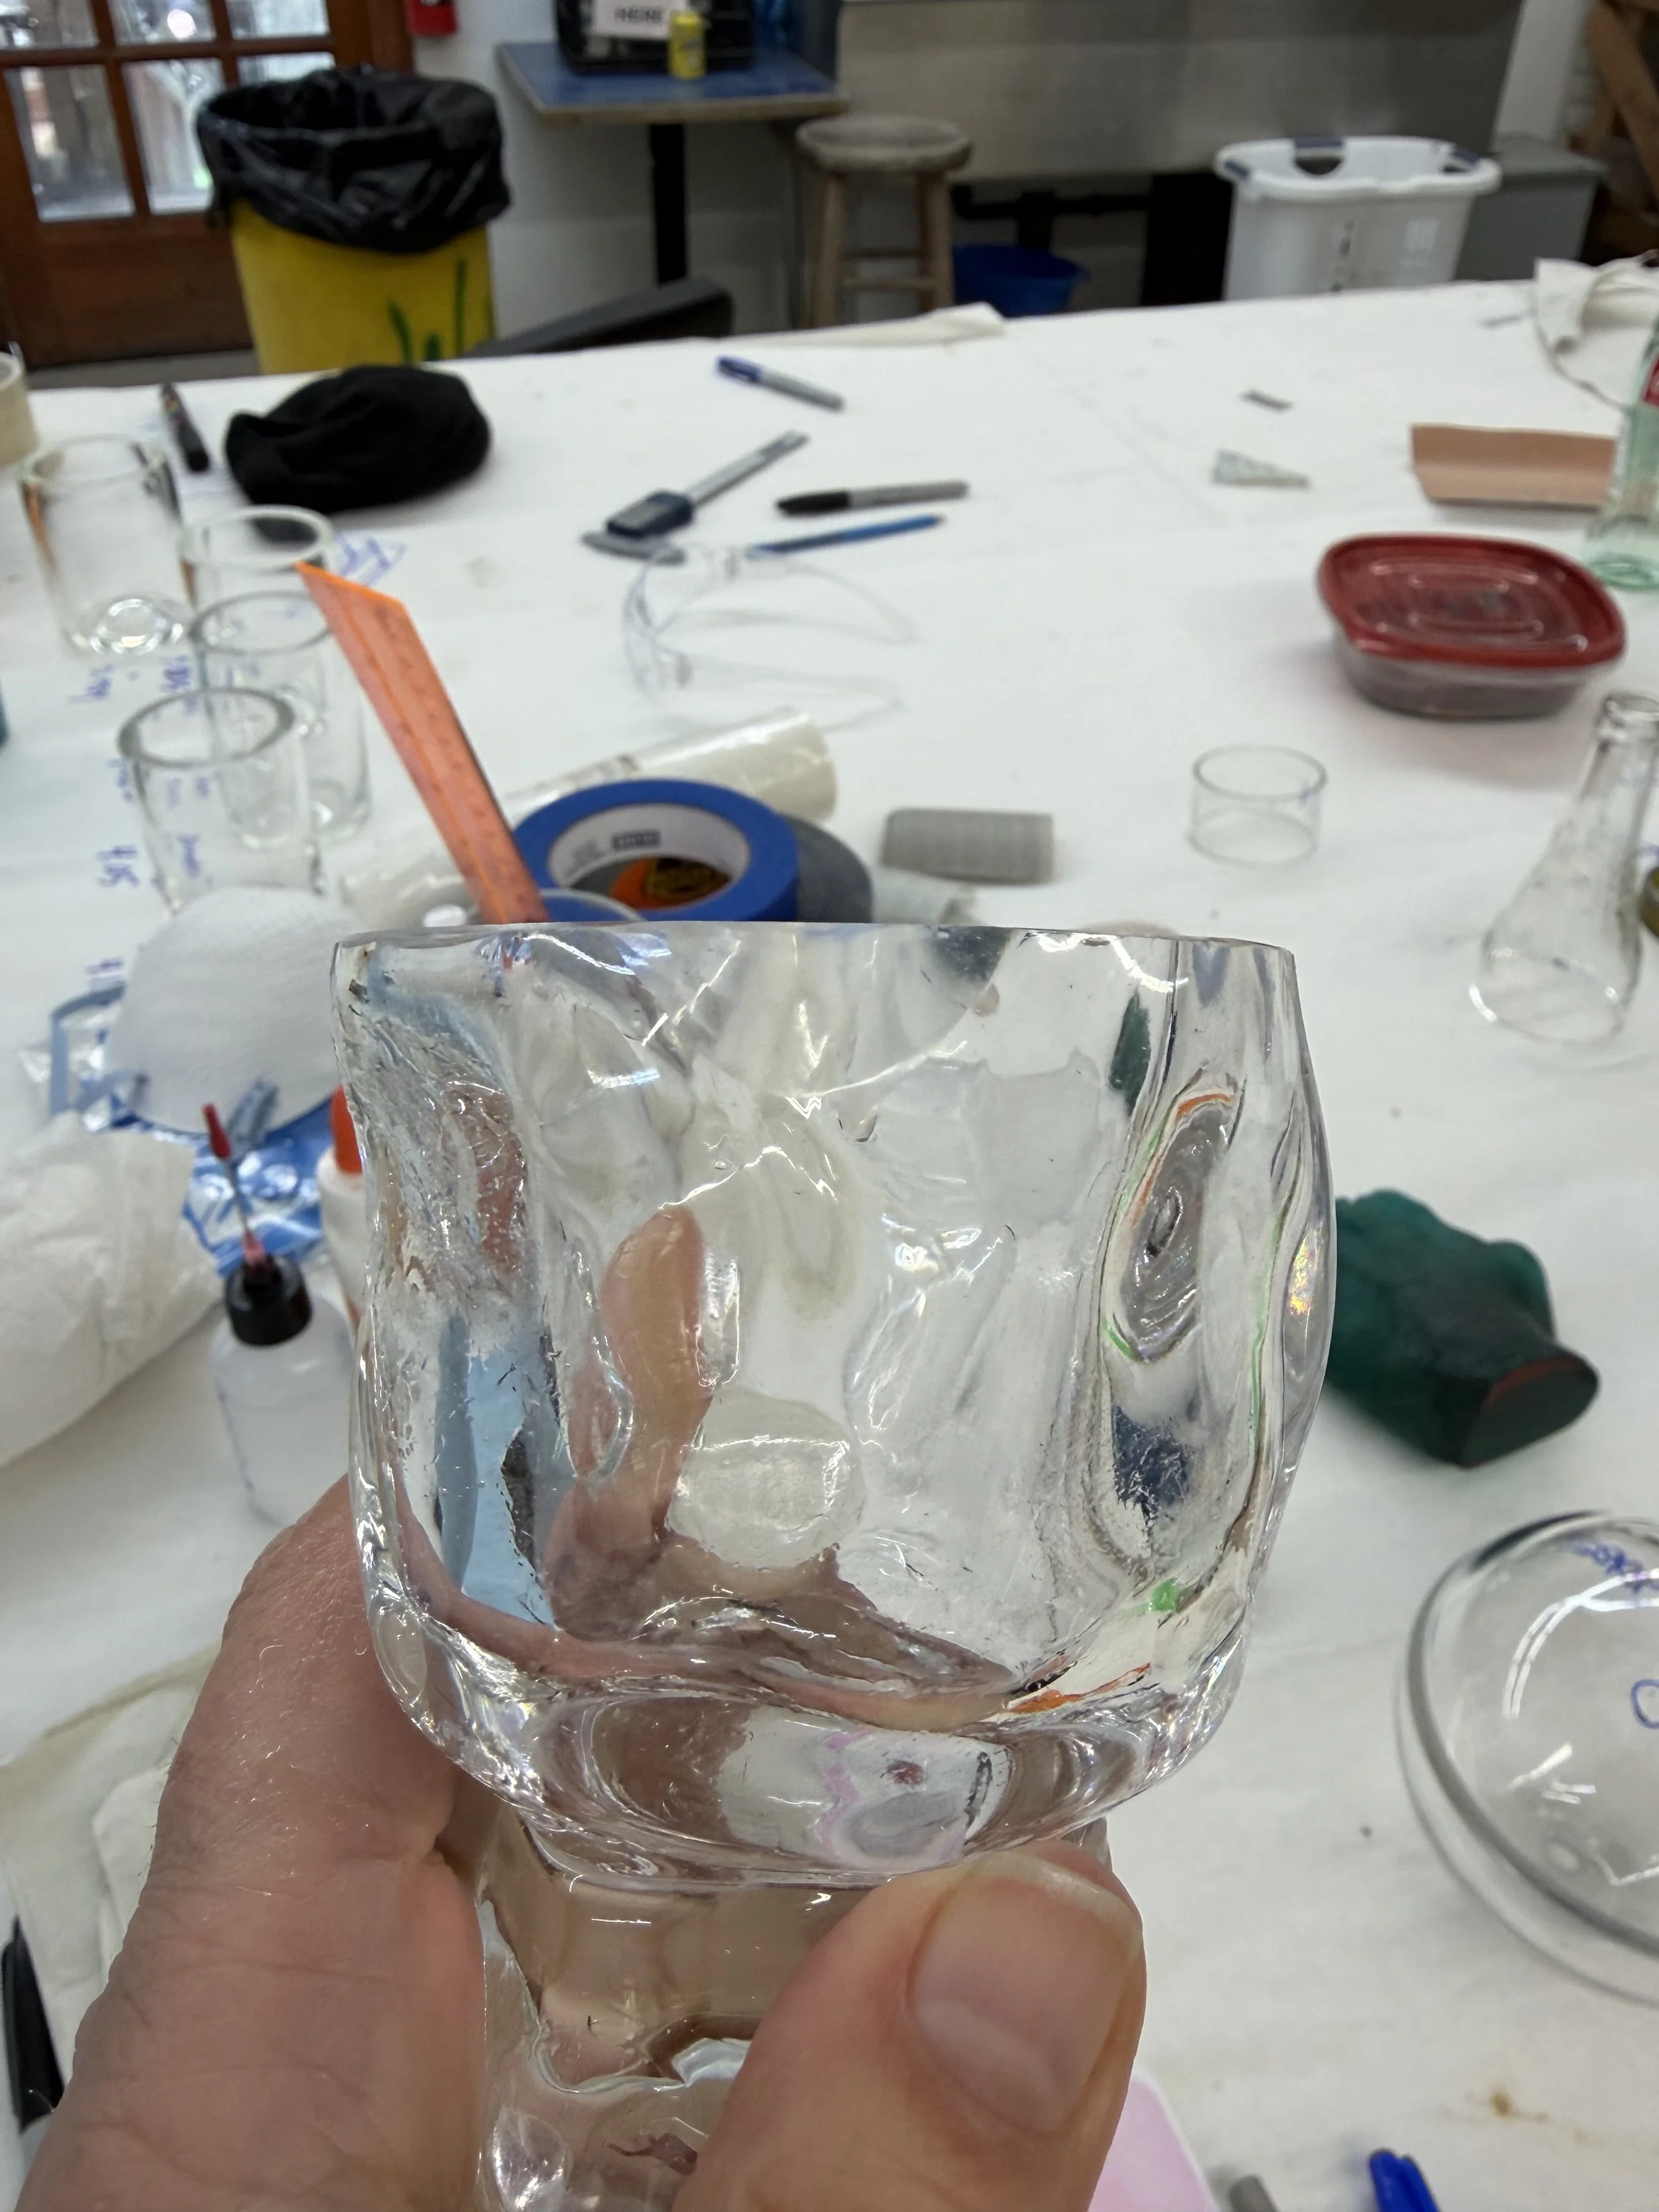
Our first assignment was to cut and polish the rim and base of a glass cup. There was a table full of beautiful blanks there for the taking. I did eventually use one, but first I wanted to work on the goblet I brought with me from Berlin.
The goblet’s design belongs to Plaster Works in Washington, DC, and we produced the series for her. This particular piece ended up too short and too thick, so instead of recycling it, I packed it up and brought it to Pilchuck to practice on.
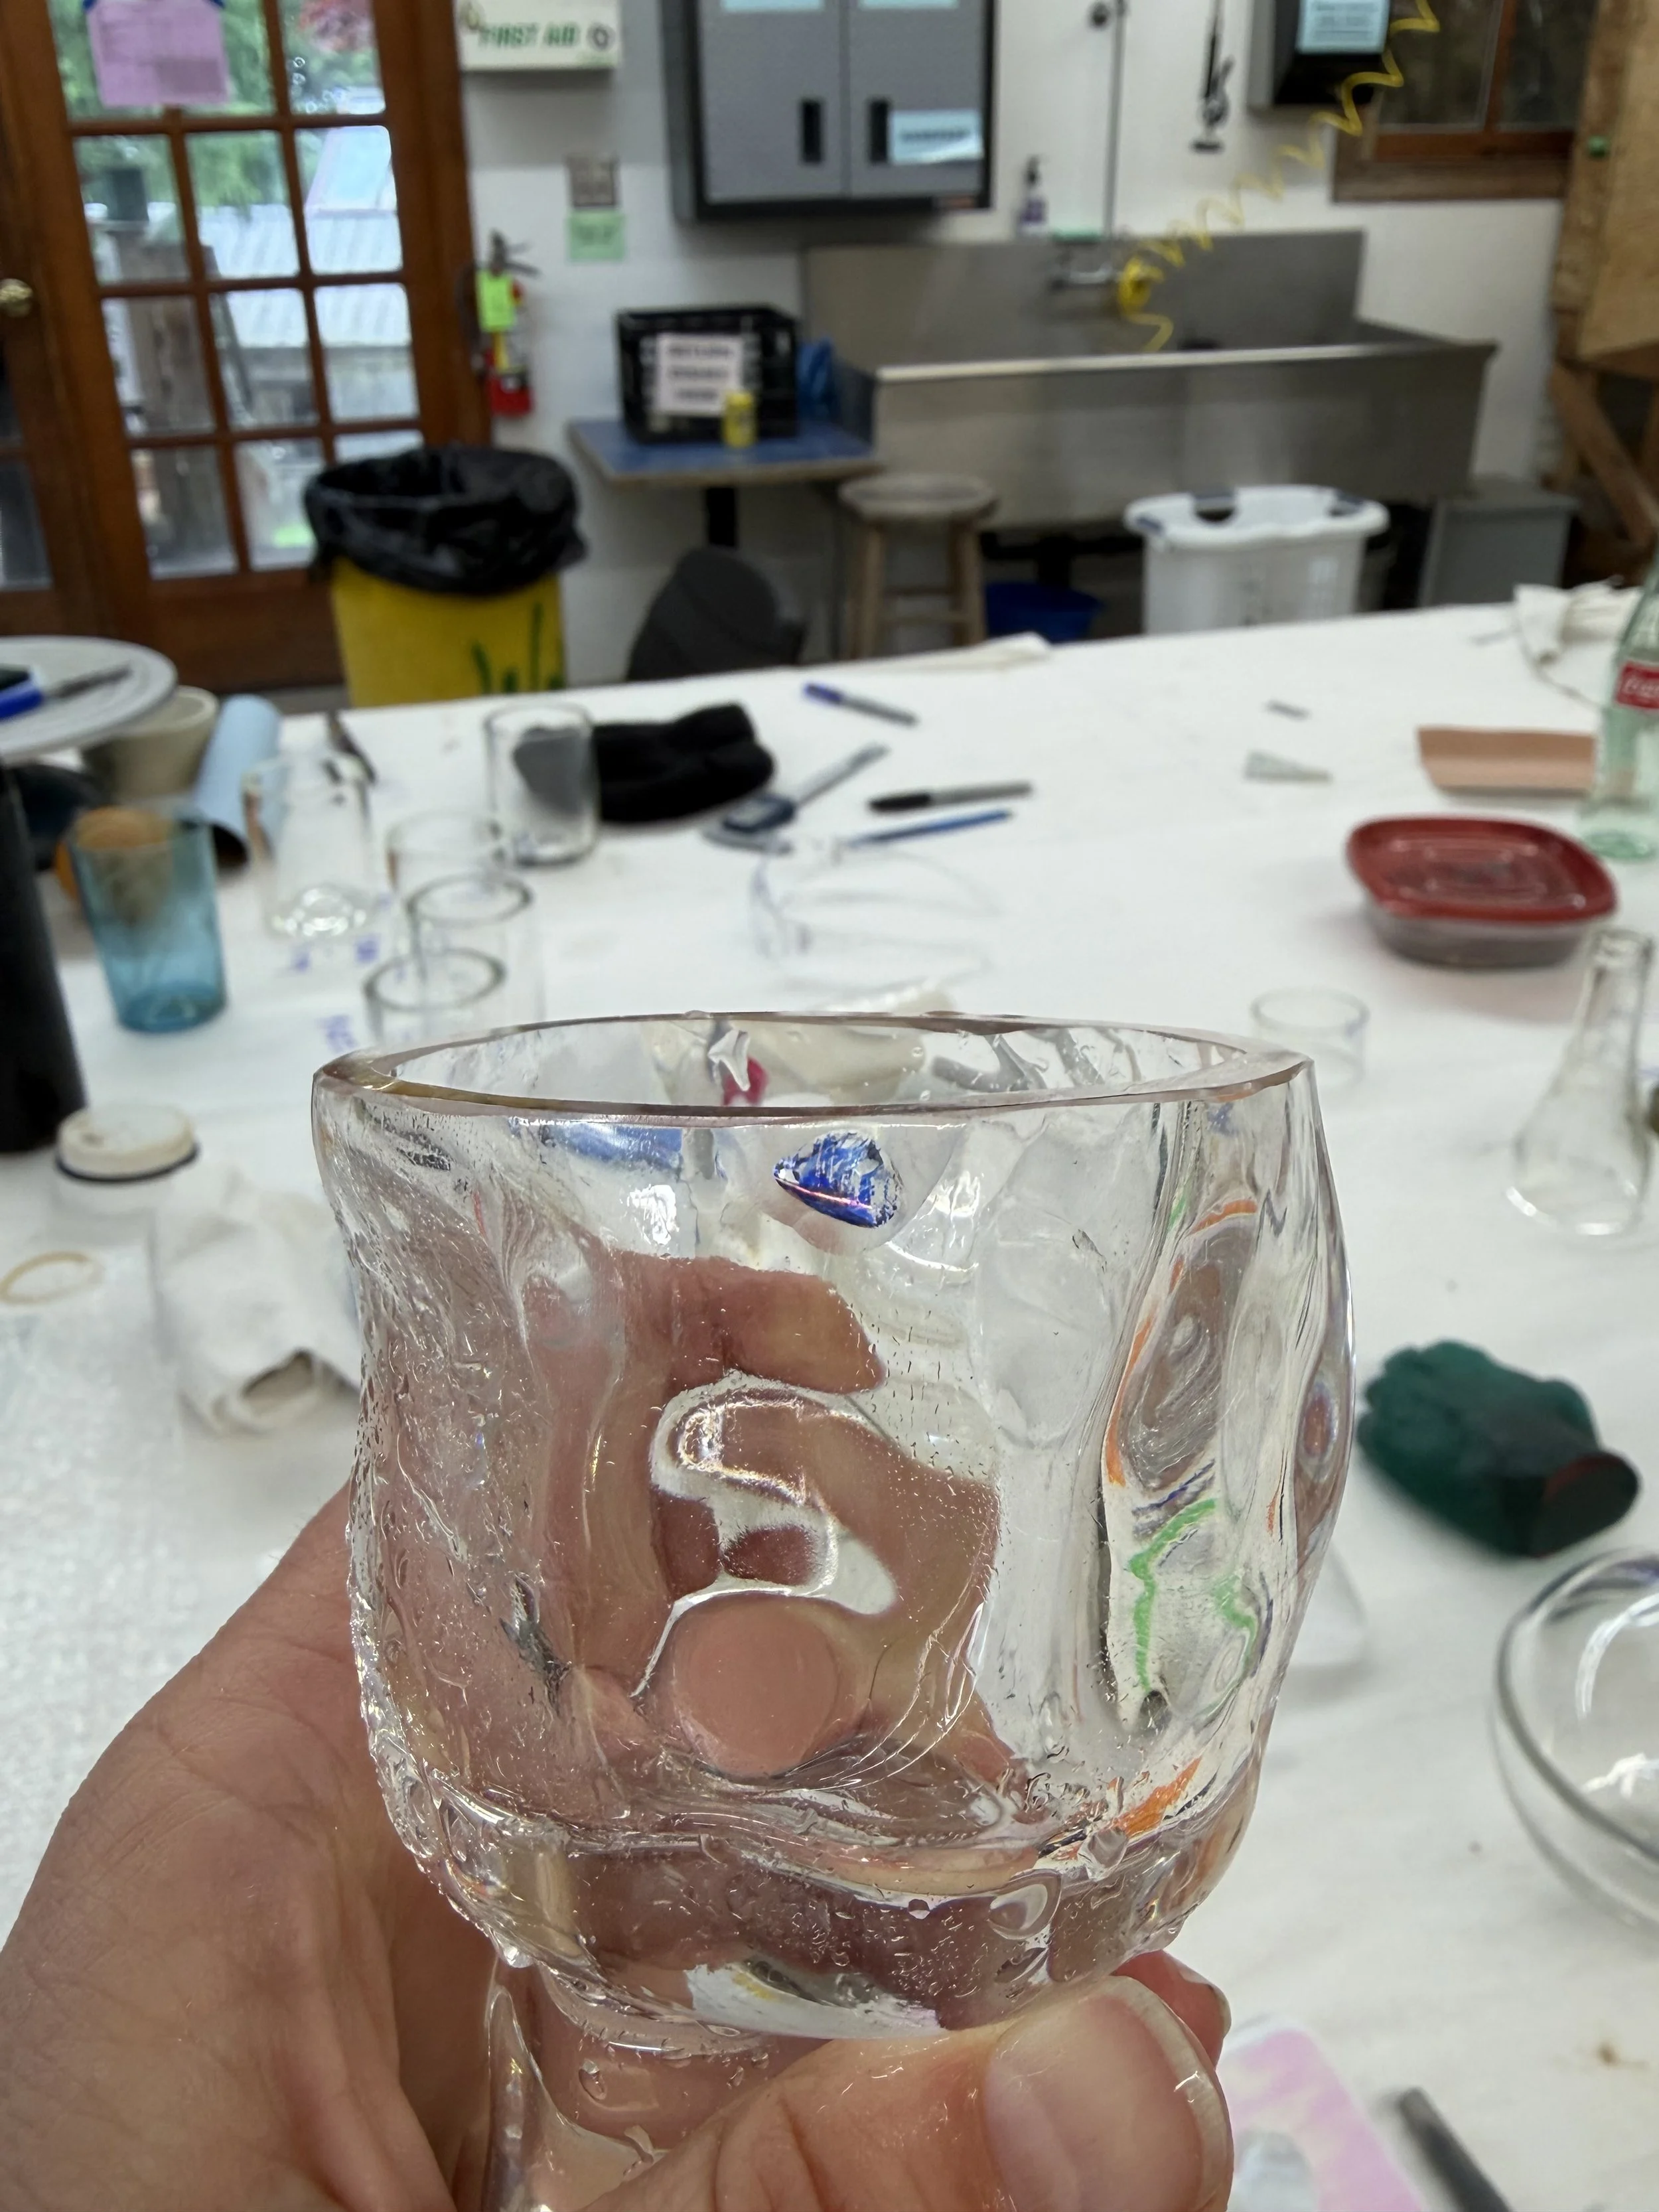
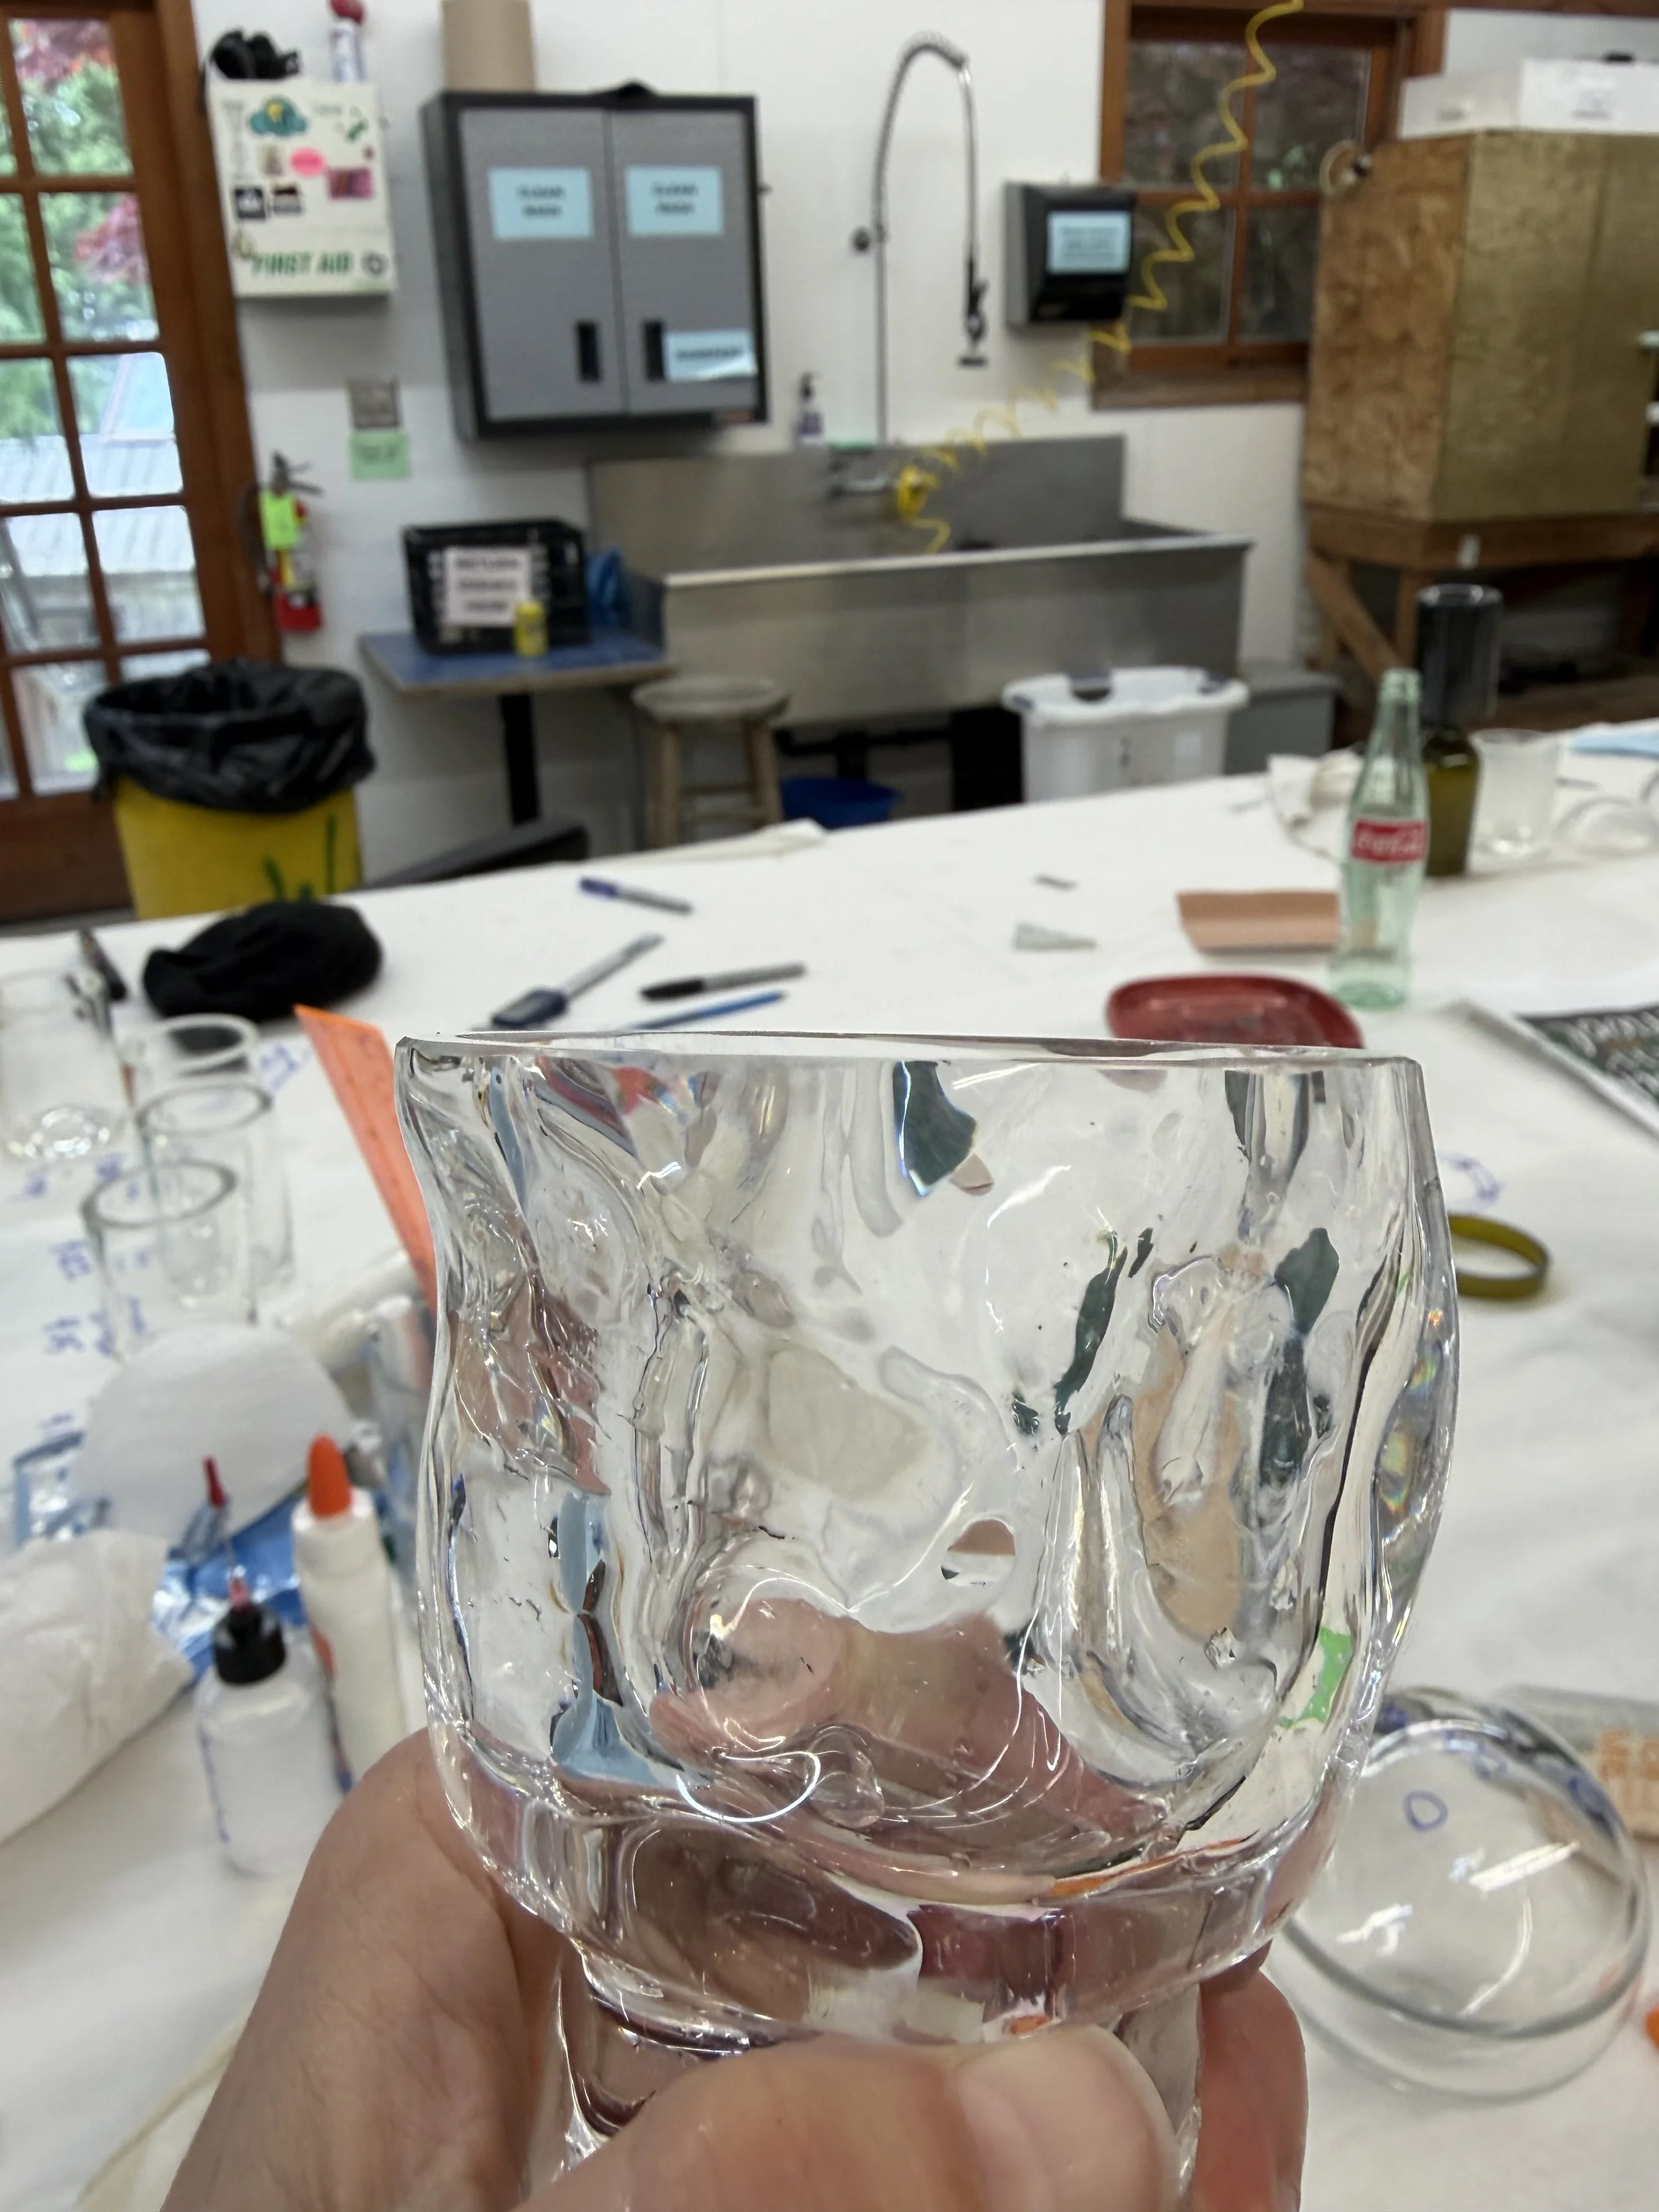
Cutting and polishing the rim was pretty straightforward, but somewhere along the way I chipped it. Instead of gluing the chip back on, the awesome instructors taught me how to bevel and polish small surfaces on the belt sander.
It’s harder than it looks, and I’m super stoked to finally feel comfortable doing it 😀
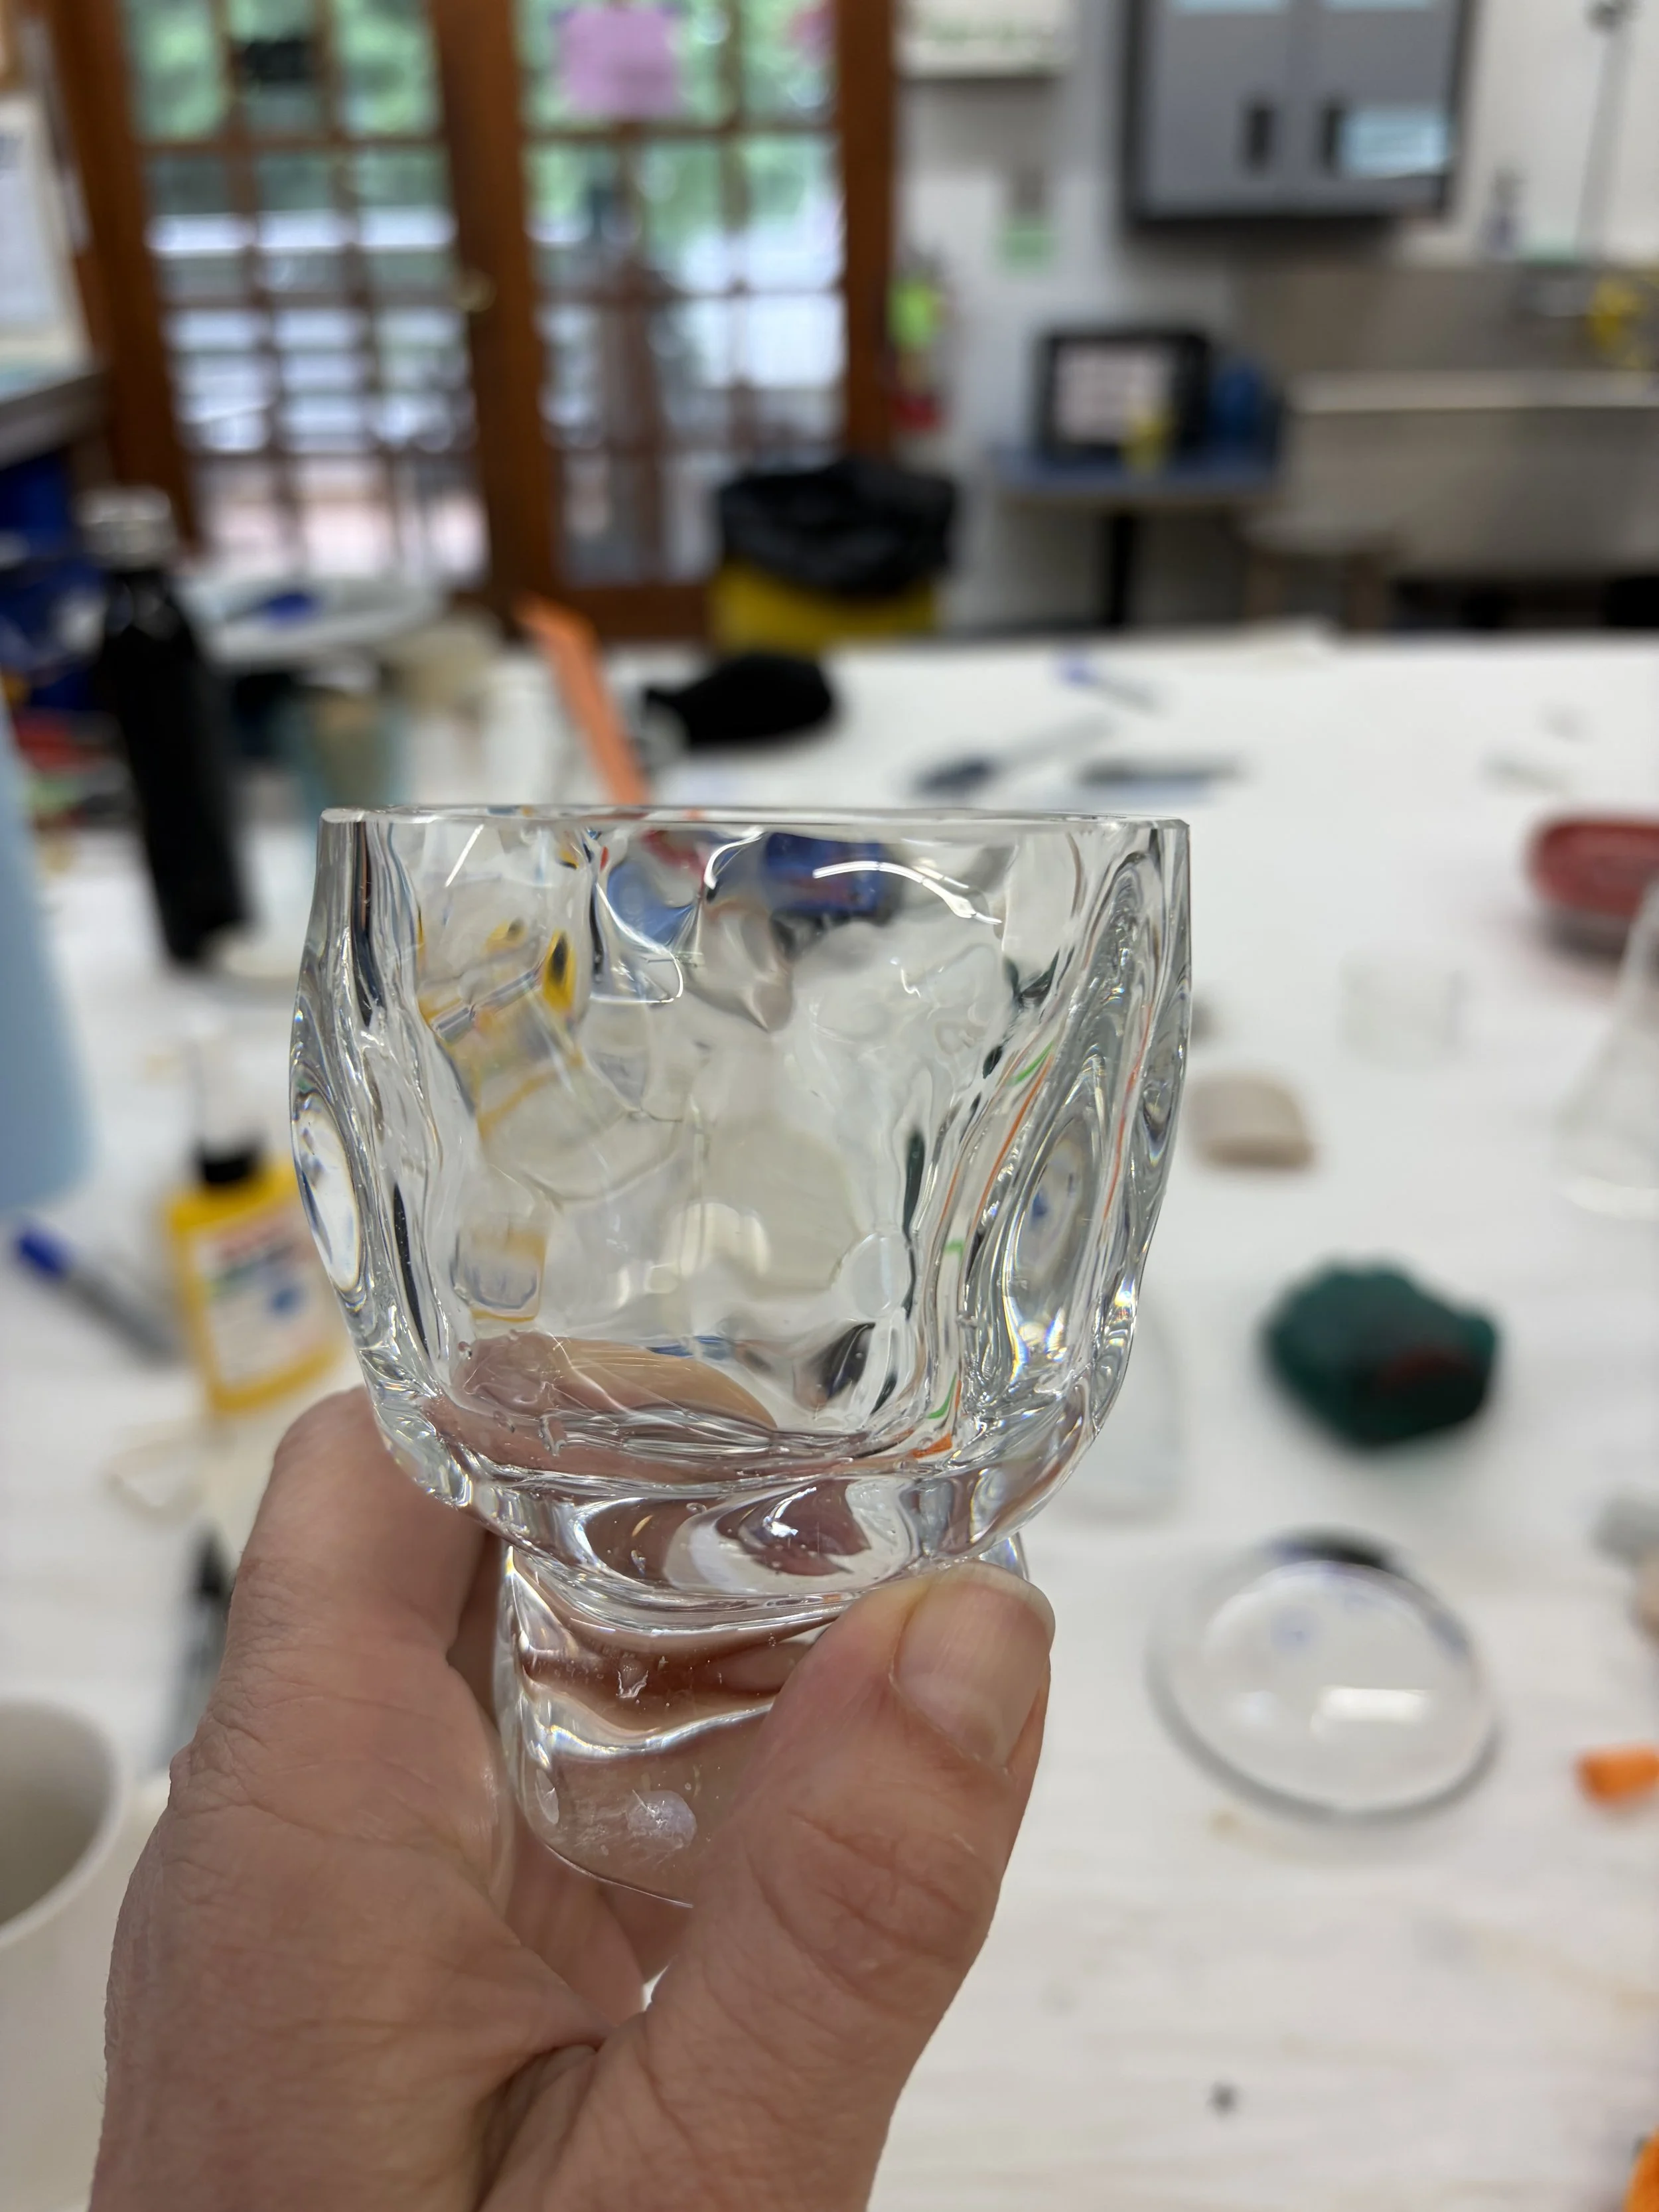
Chip ground away — and now you can hardly tell where it was in the first place.
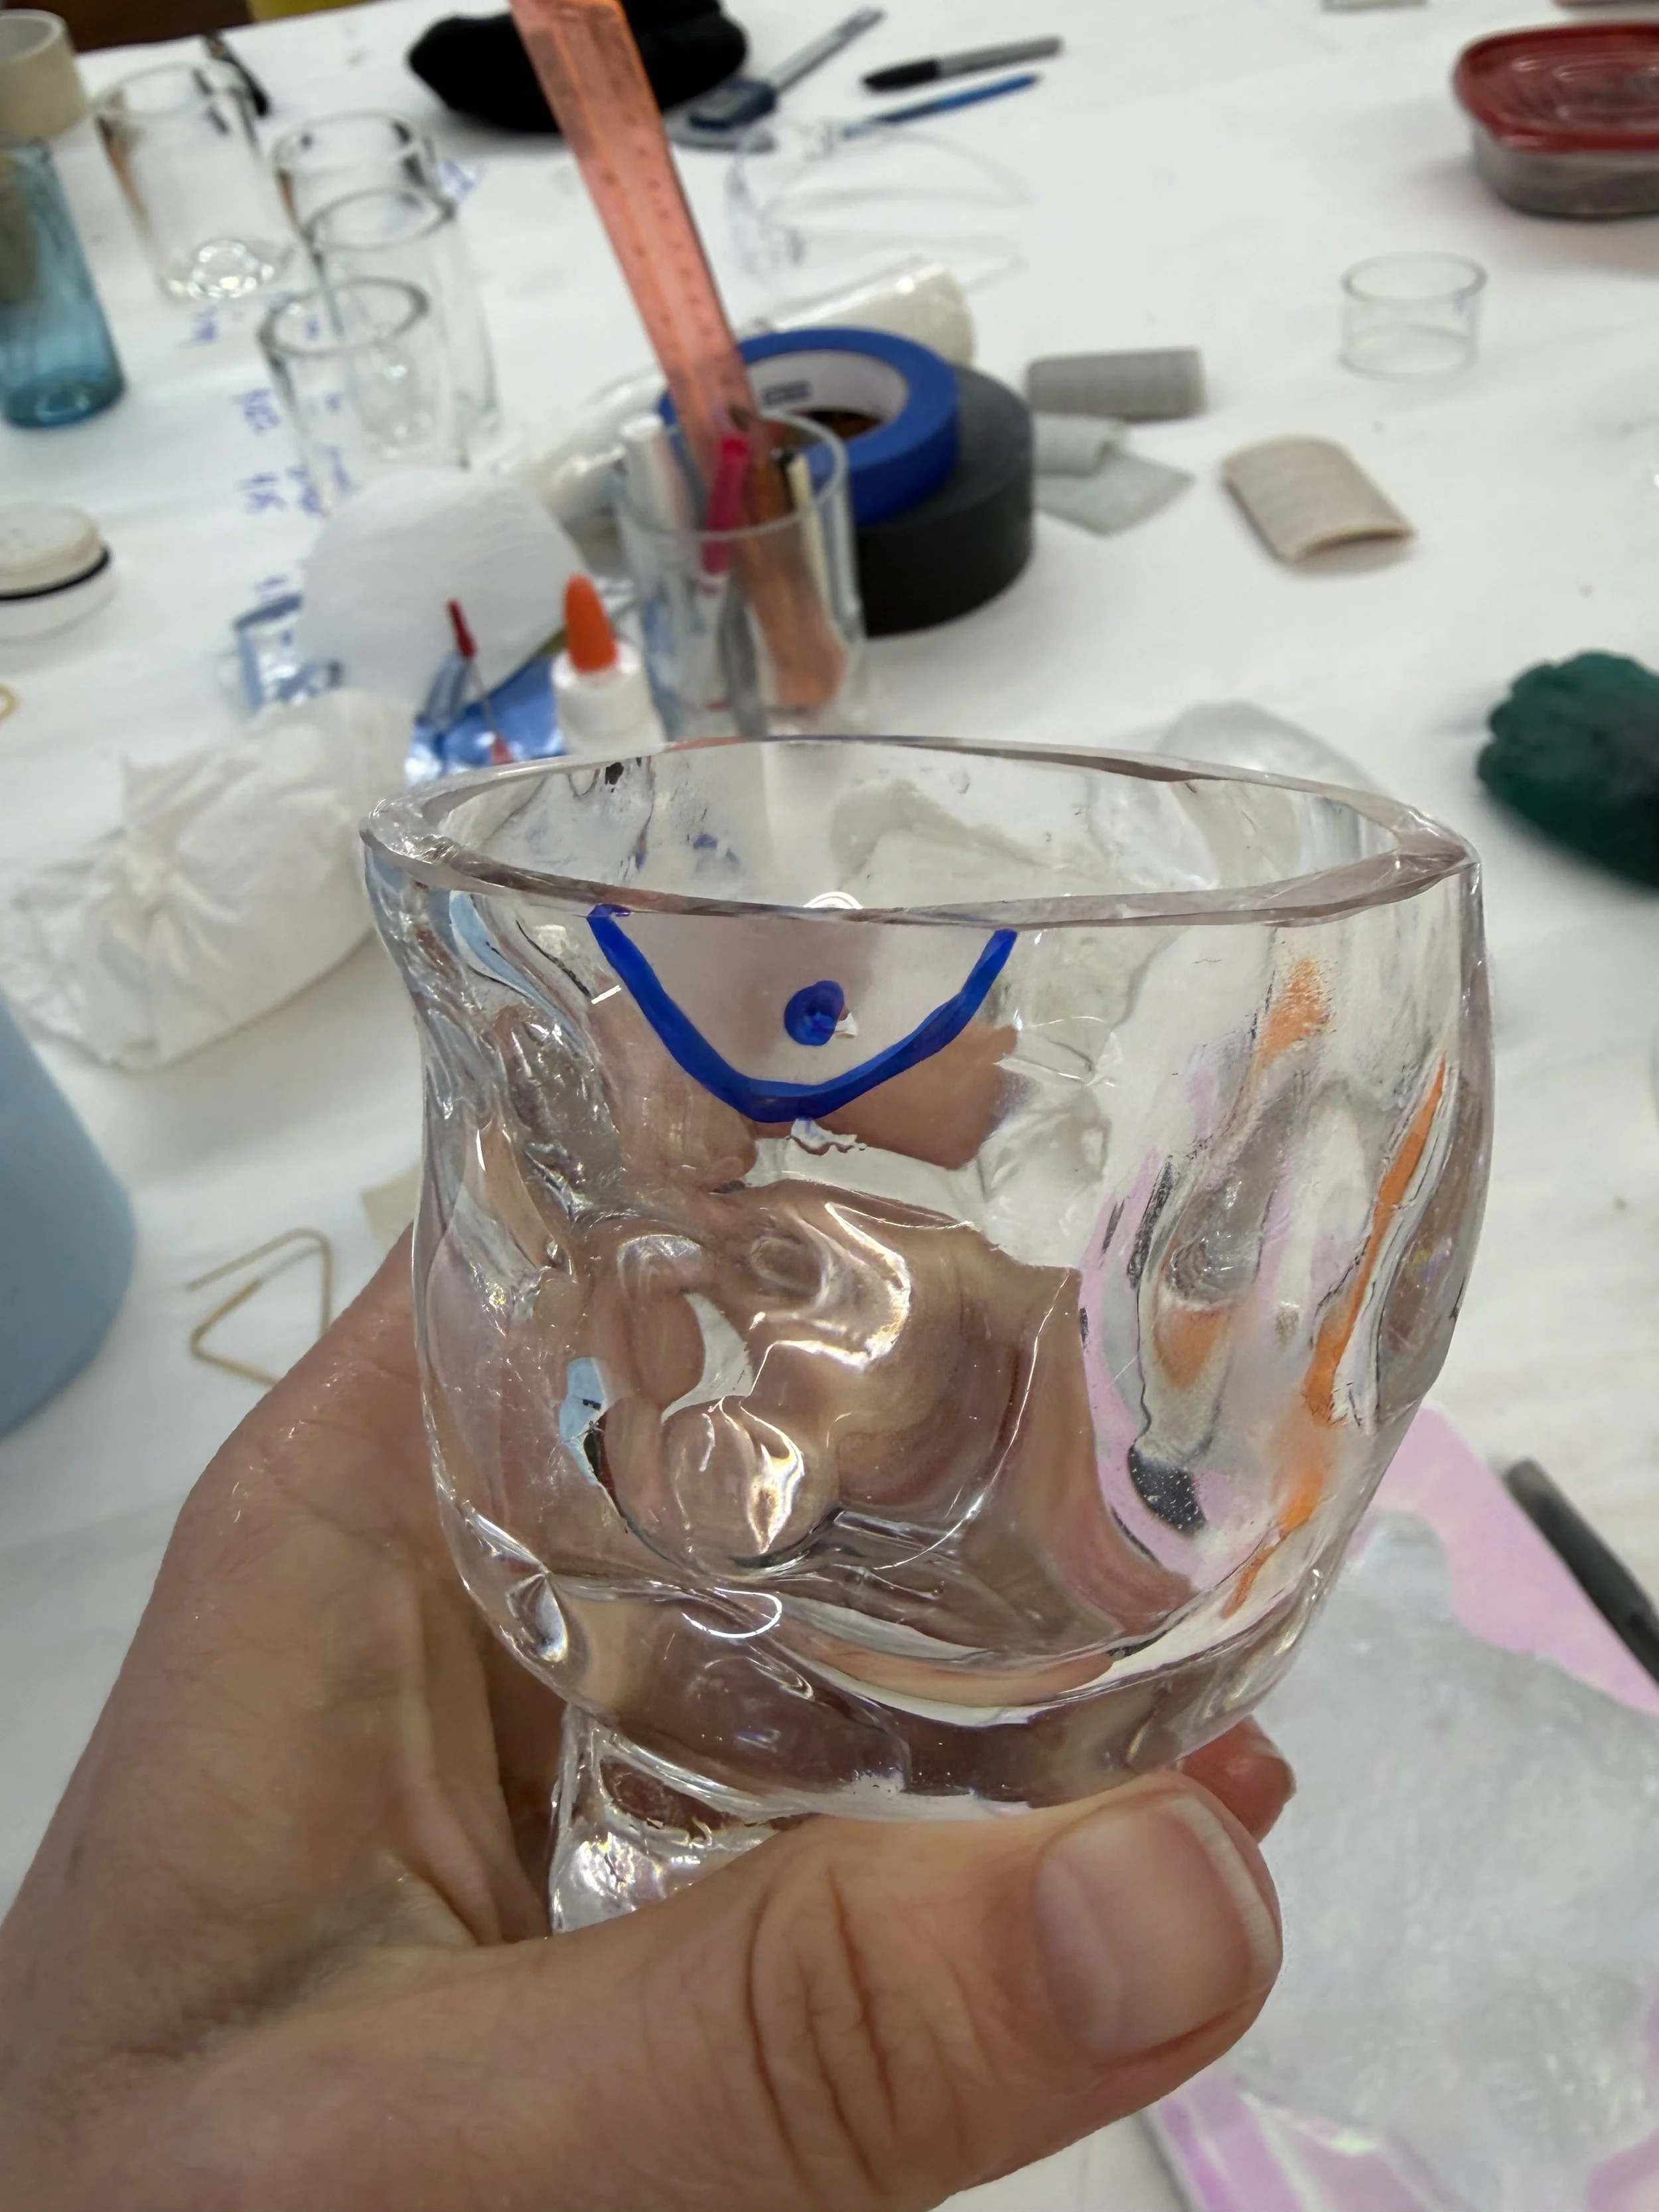
Process: first, mark the chipped area with blue ink (Sharpie or Edding). We learned that blue stays visible much longer than black. Then take the piece to the belt sander and begin with a 220-grit belt.
The key is to hold the glass with the rim facing upward. That position gives you much more control over the area you are grinding. As you grind away the chip — which can be surprisingly deep — the surrounding area will inevitably become matte from the belt as well. Keeping that area as small as possible is essential unless you want to end up cold-working the entire body of the cup.
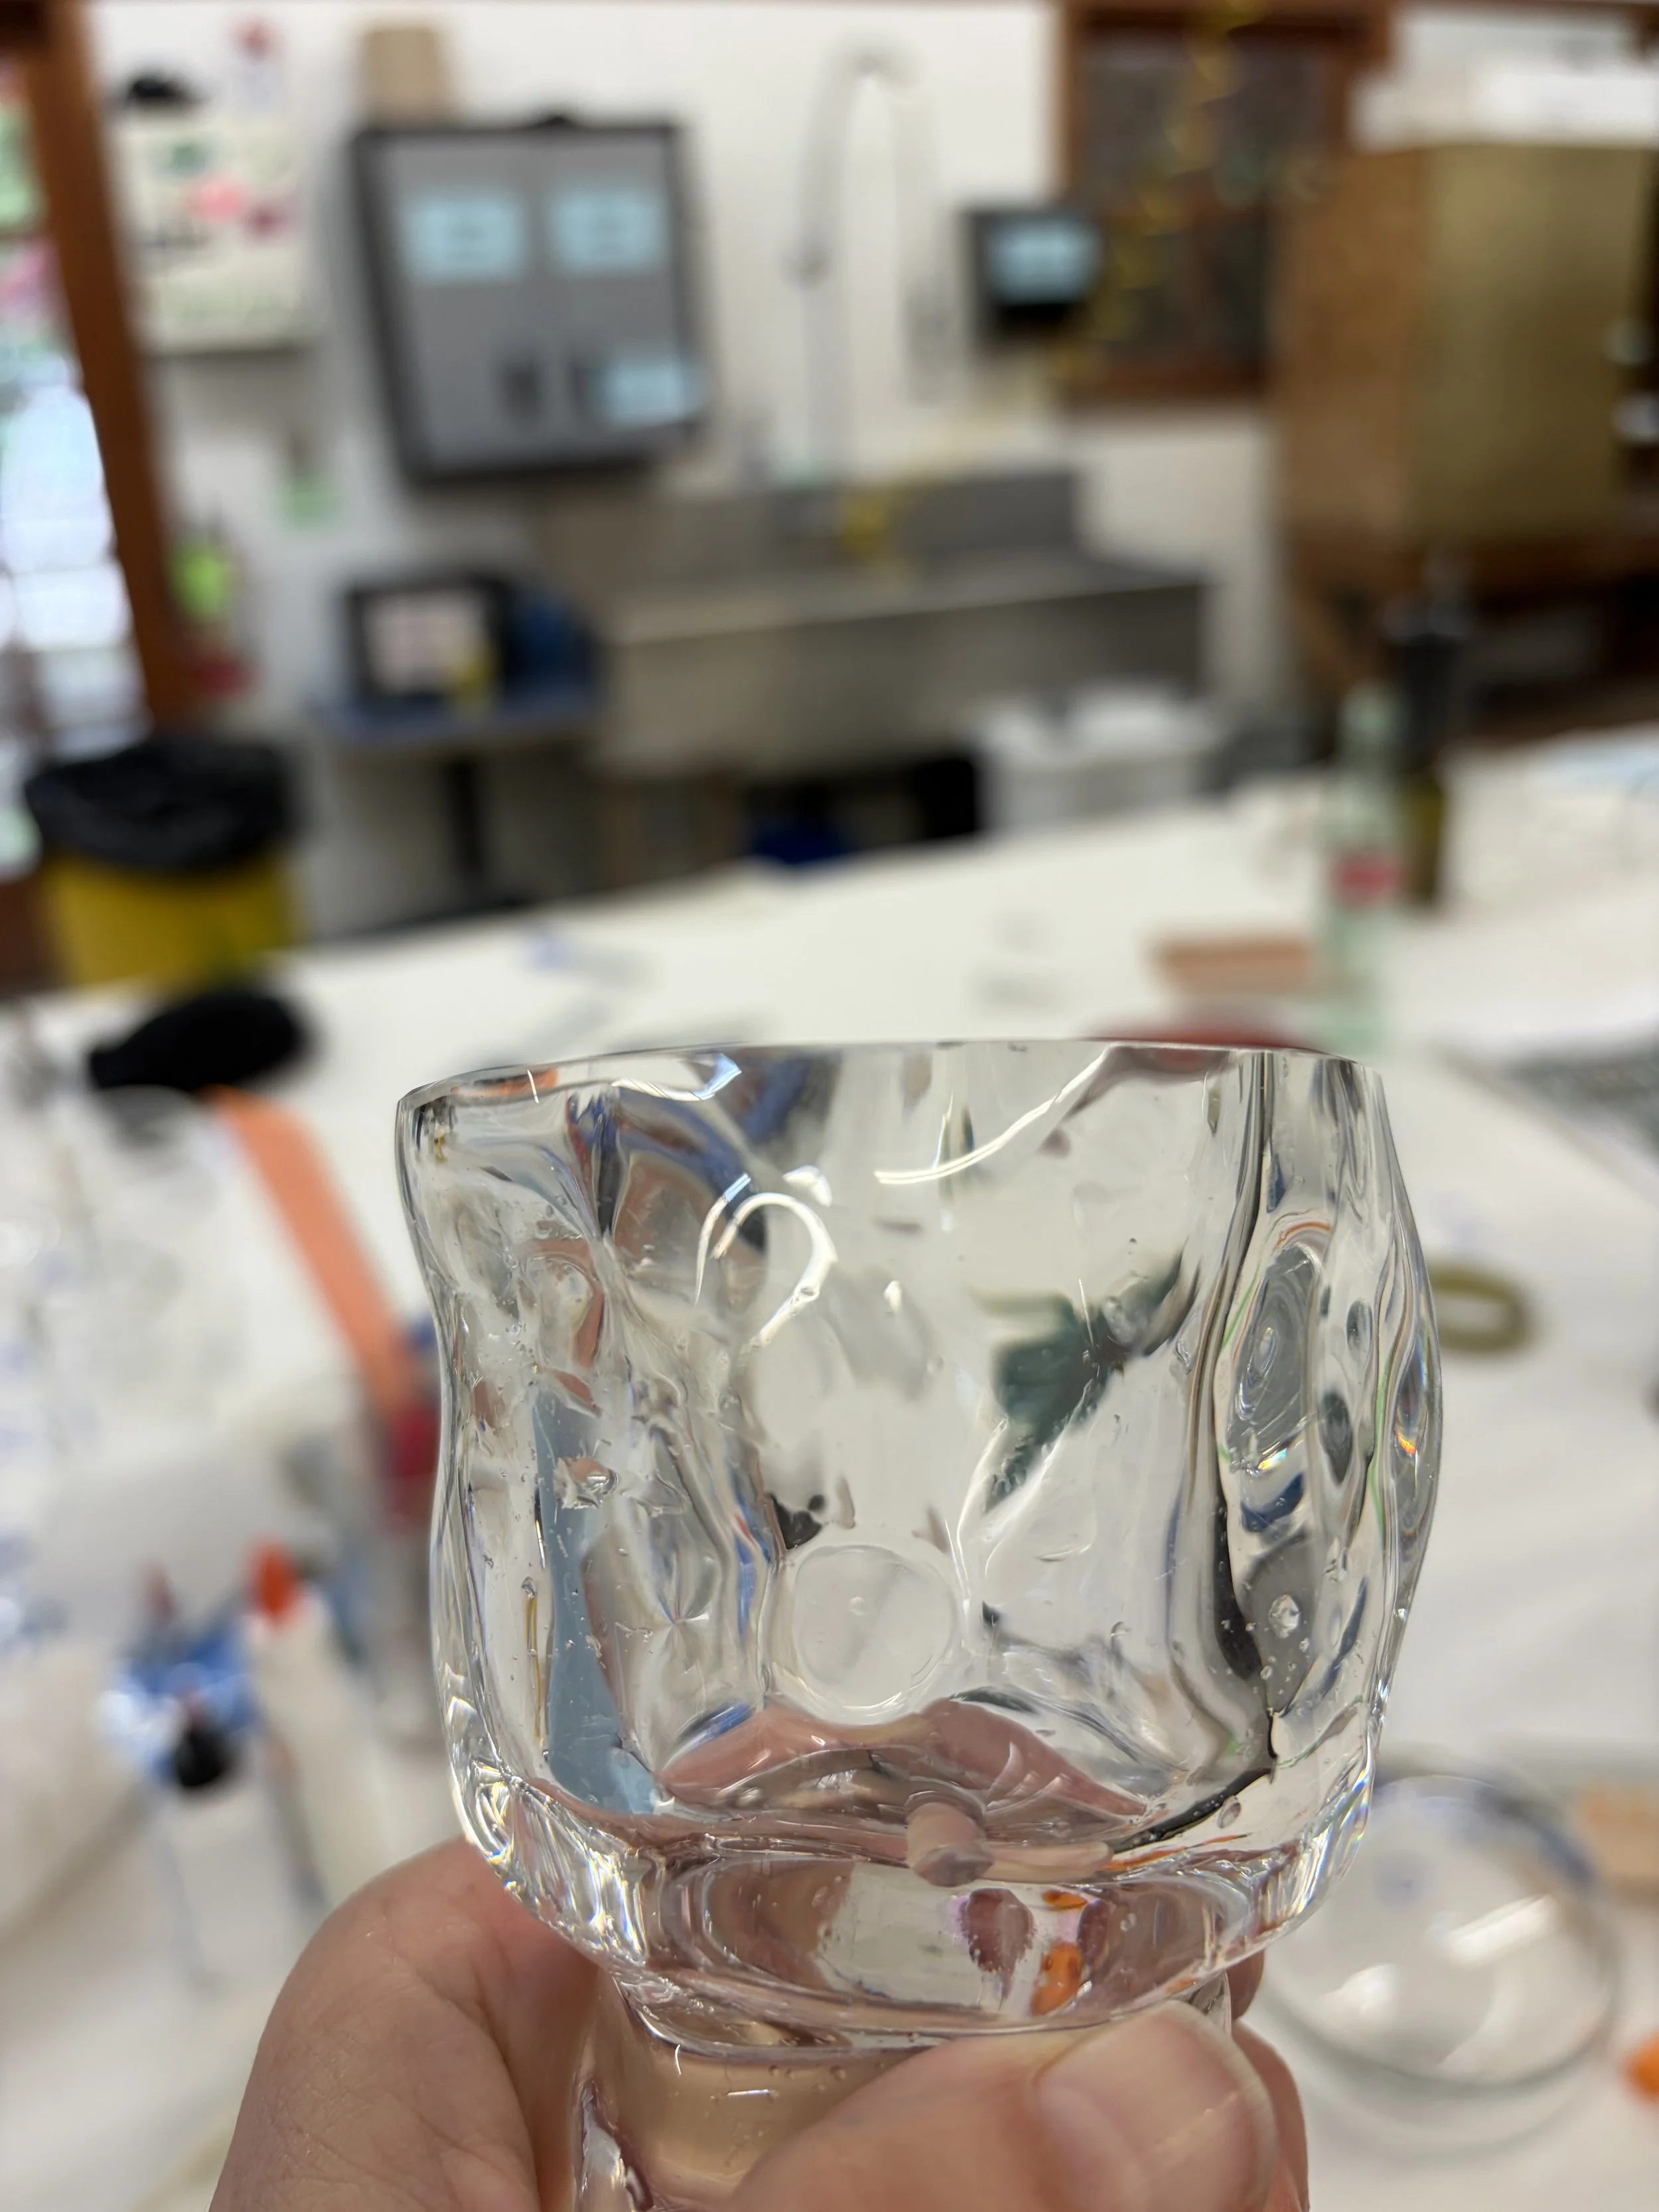
In this case, the goblet has a wavy texture created by pressing stones into the clay positive we use for the mold. That meant I had to re-sculpt the waviness while grinding out the chip, otherwise the repaired area would have ended up with a noticeable flat spot.
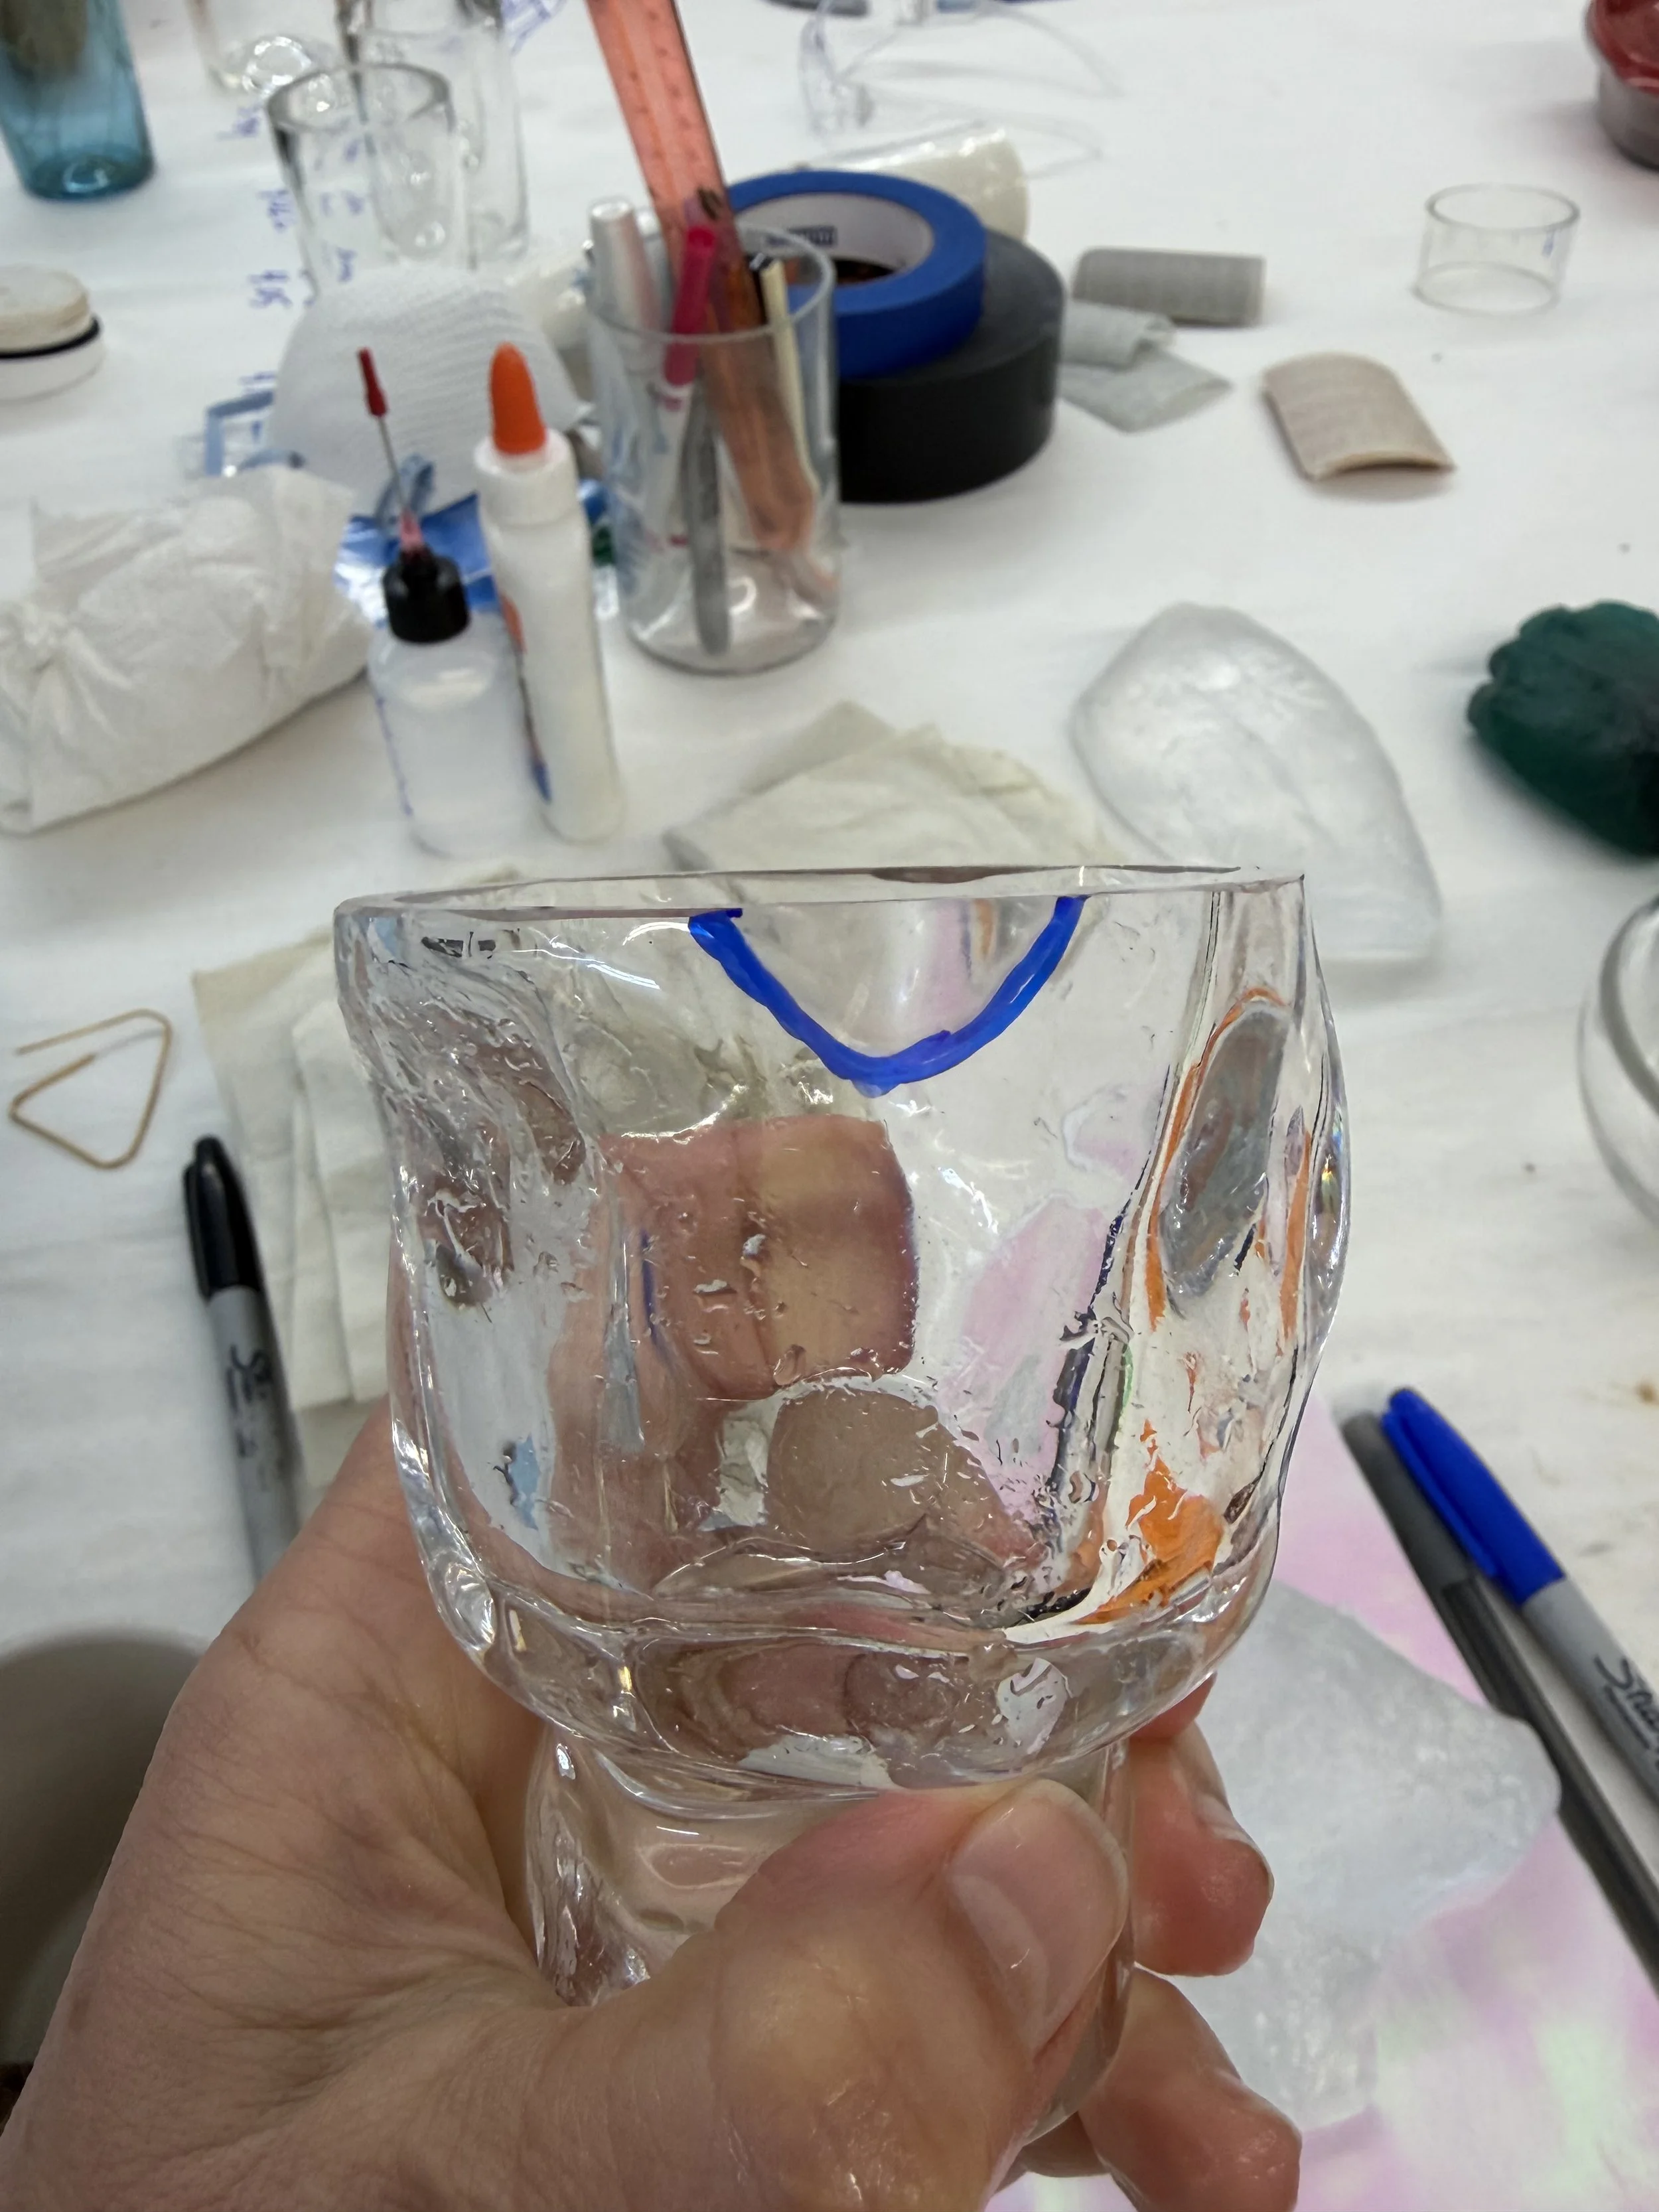
It was a really fun challenge, and because our instructors, Celeste Wilson and Chris Duffy, explained so clearly how to hold and move the glass, the process felt surprisingly straightforward. The area that needed re-polishing ended up being minimal.
After grinding away the chip and re-sculpting the texture, I switched to a 400-grit belt to begin polishing. From there, I moved on to cerium oxide, and within about 30 minutes total, the glass was shiny and new again.